Setting Launch Compensation for APC Connectors
APC connectors have low reflectance causing the tester to possibly not locate the correct launch and tail events. Because of this, you must use Manual Launch Compensation, which sets virtual events in the Event Table for the first connector and the last connector on the fiber link under test.
TAC(Technical Assistance Center) Tip:
Determine the lengths of your SC/UPC to SC/APC launch cord and tail cord.
To find the length of the launch cables before Setting Launch Compensation, run a quick Auto OTDR test with just the launch fiber attached. Make sure you connect the SC/UPC side to the OTDR port. This will show you the length of your launch fiber. If you are using a tail fiber, don’t forget to do the same with your tail fiber, and record the lengths. We suggest the recorded lengths are marked on each of the launch/tail fiber cases.
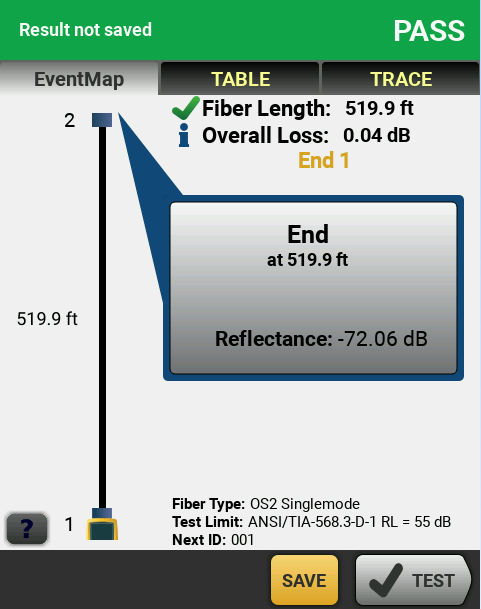
Saving this result is optional.
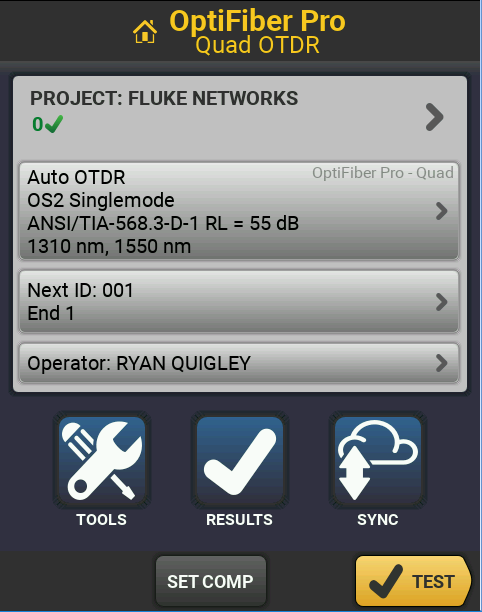
Now press the HOME button to go back to main screen.
Tap “SET COMP” button at the bottom of the screen.
Tap the radio button next to “Manual Entry (APC)”
Tap the “SET” button.
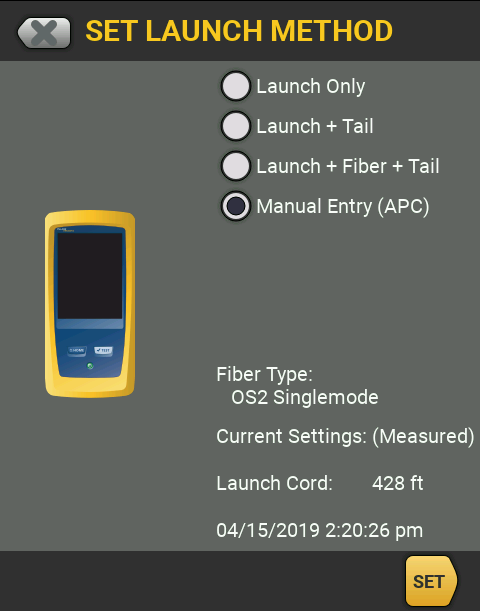
*Note Current Settings will show the details from the last time you Set Launch Compensation*
Tap Launch Cord:
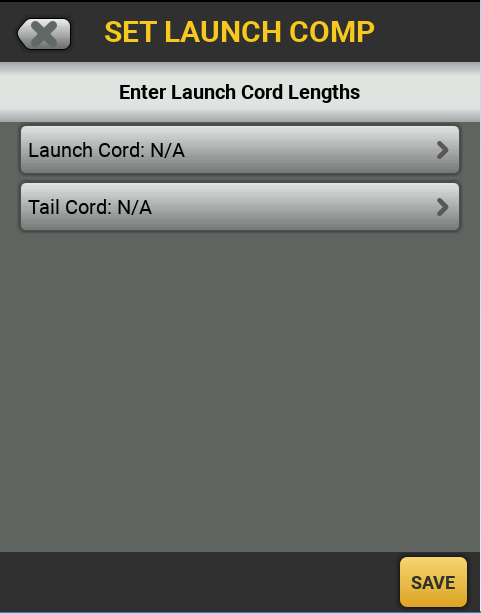
Enter recorded length.
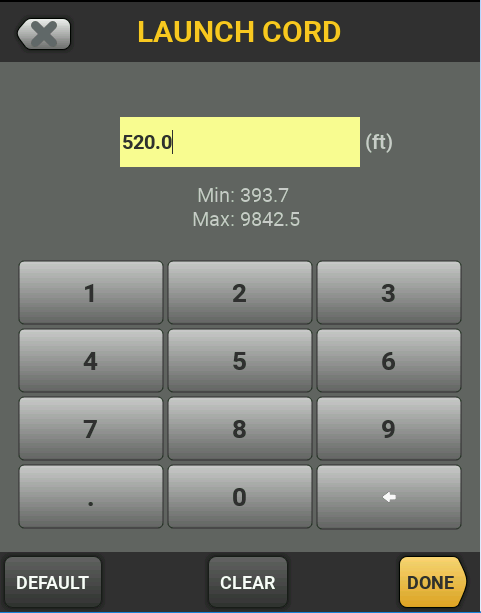
Tap Done.
*Note Fluke Networks always recommends a tail fiber if you want to measure the far connector on the link under test.*
Enter the recorded length of tail cord. *If you are not using a tail cord, select N/A*
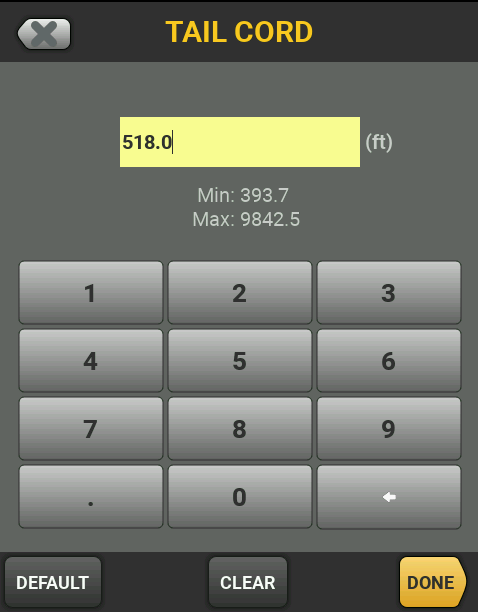
Tap Done.
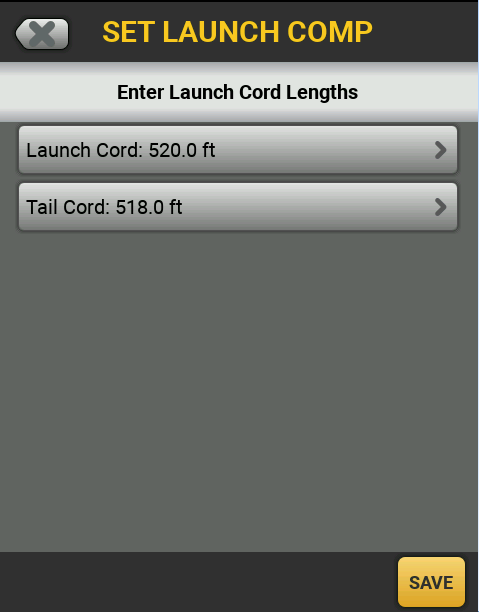
[保存] をタップします。
Confirmation of Launch Compensation message appears with the correct recorded lengths. OK をタップします。
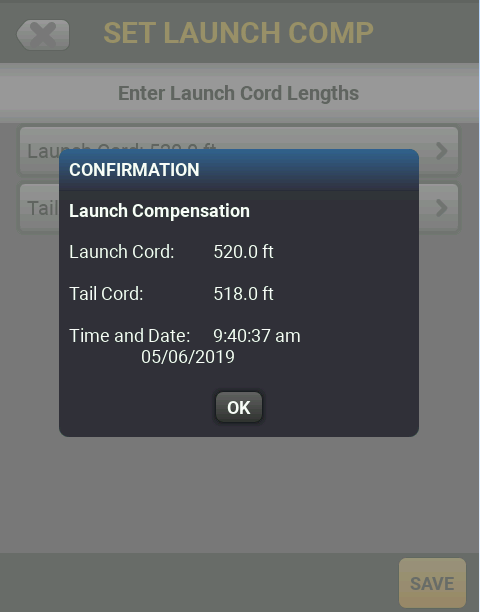
The Launch Compensation is now set.


